
How to Create a Searchable Home Inventory From Photos
By Mubarak Abubakar · October 1, 2026 · 6 min read
To create a searchable home inventory from photos, photograph your belongings, give each record a recognizable name, and attach its current location. Add model details where they help distinguish similar objects. AI can help draft some records, but check its suggestions against the objects before saving them.
A camera roll is a useful visual record. It becomes a practical inventory when you can answer both “do I own this?” and “where did I put it?” This guide focuses on that transition. For planning a whole-house project, start with our general home-inventory guide.
Choose how you will turn photos into records
| Method | What you do | What to check |
|---|---|---|
| Photo album and spreadsheet | Add names, locations and photo references yourself. | Can you still open the referenced photos after moving or sharing the files? |
| Manual inventory app | Keep a photo, item name and location in one record. | Does its search find the terms you naturally use? |
| AI-assisted inventory app | Review suggested names or other details from photos. | Which details were observed correctly, missed or guessed? |
For automatic recognition, compare the options in our AI home inventory app guide. Features differ between products: recognizing one object is not the same as identifying every object in a room.
iFoundIt uses a manual photo-and-location workflow. It does not automatically identify objects from photos or estimate their value. You supply the name and saved location. That can suit a small inventory where finding the right drawer matters more than automating data entry.
Photograph one shelf or drawer first
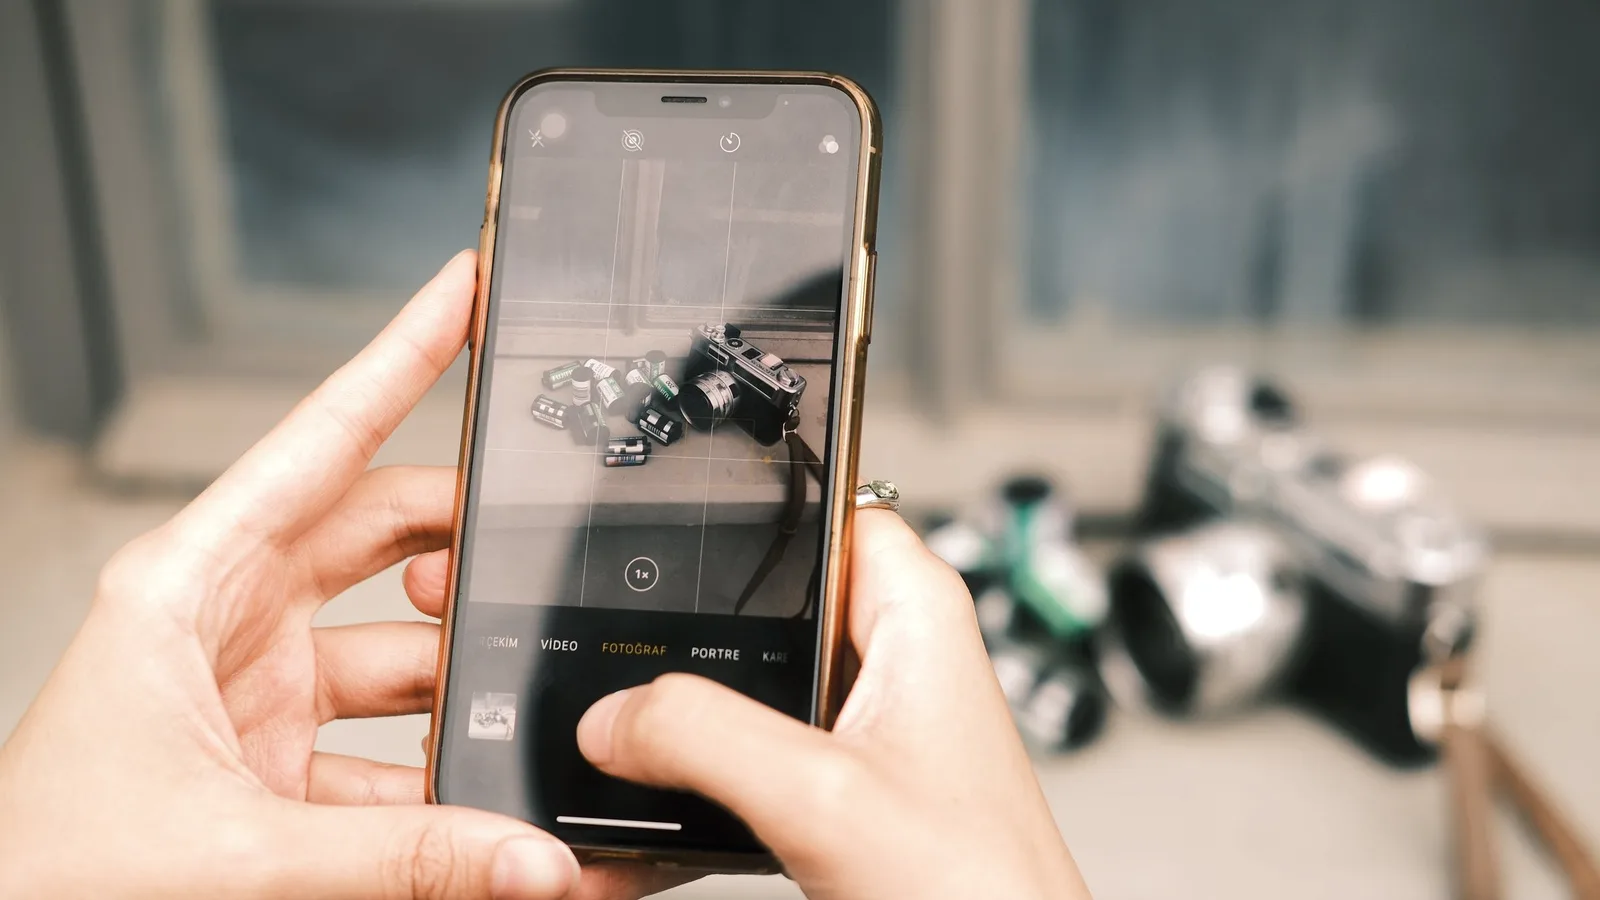
Choose a small area with a mix of belongings. Take an overview to show context, then photograph individual items you want separate records for. Open containers and spread out overlapping objects. A closed box documents the box, not the belongings inside it.
Use enough light to see labels and avoid glare on screens or glossy packaging. For a model number, take a close-up rather than relying on a wide room photo. Check the image before putting the object away; retaking it now is easier than reopening every box later.
Existing photos can help if they still describe what you own. Treat them as a starting point and verify the current location. An image taken before your last move does not tell you which cupboard now holds the item.
Turn each useful photo into a searchable entry
Here is an illustrative record you could create in a spreadsheet or an inventory tool:
- Name
- Cordless drill, green case
- Location
- Garage → Shelf B → Bin B01
- Photo
- Open case showing the drill and charger
- Notes
- Spare battery in the compartment under the handle
- Identifying detail
- Model number copied from the tool label
“Green case” helps when you remember the appearance but not the brand. The shelf and bin describe the actual location; “tools” only describes a category. If you use containers, our storage-bin inventory guide includes a downloadable example.
If you use AI, review before accepting
Run your first small batch through the tool you are evaluating and compare the output with the physical items. This gives you a useful trial without committing the whole house to a workflow that may need more corrections than you expected.
- Names: Is the suggested label specific enough to find later?
- Count: Were hidden items missed or the same item counted in two photos?
- Model details: Does the text match the actual label? Leave unknown details blank instead of accepting a guess.
- Location: Does the saved location describe where you put the item now?
- Values: Keep an automated estimate distinct from a documented purchase price.
A photo of a shelf may give visual location clues, but it cannot reliably supply your private naming system for rooms and bins. Record that context yourself. Review a service’s photo handling and deletion options before uploading images of private documents or the inside of your home.
Try a retrieval test
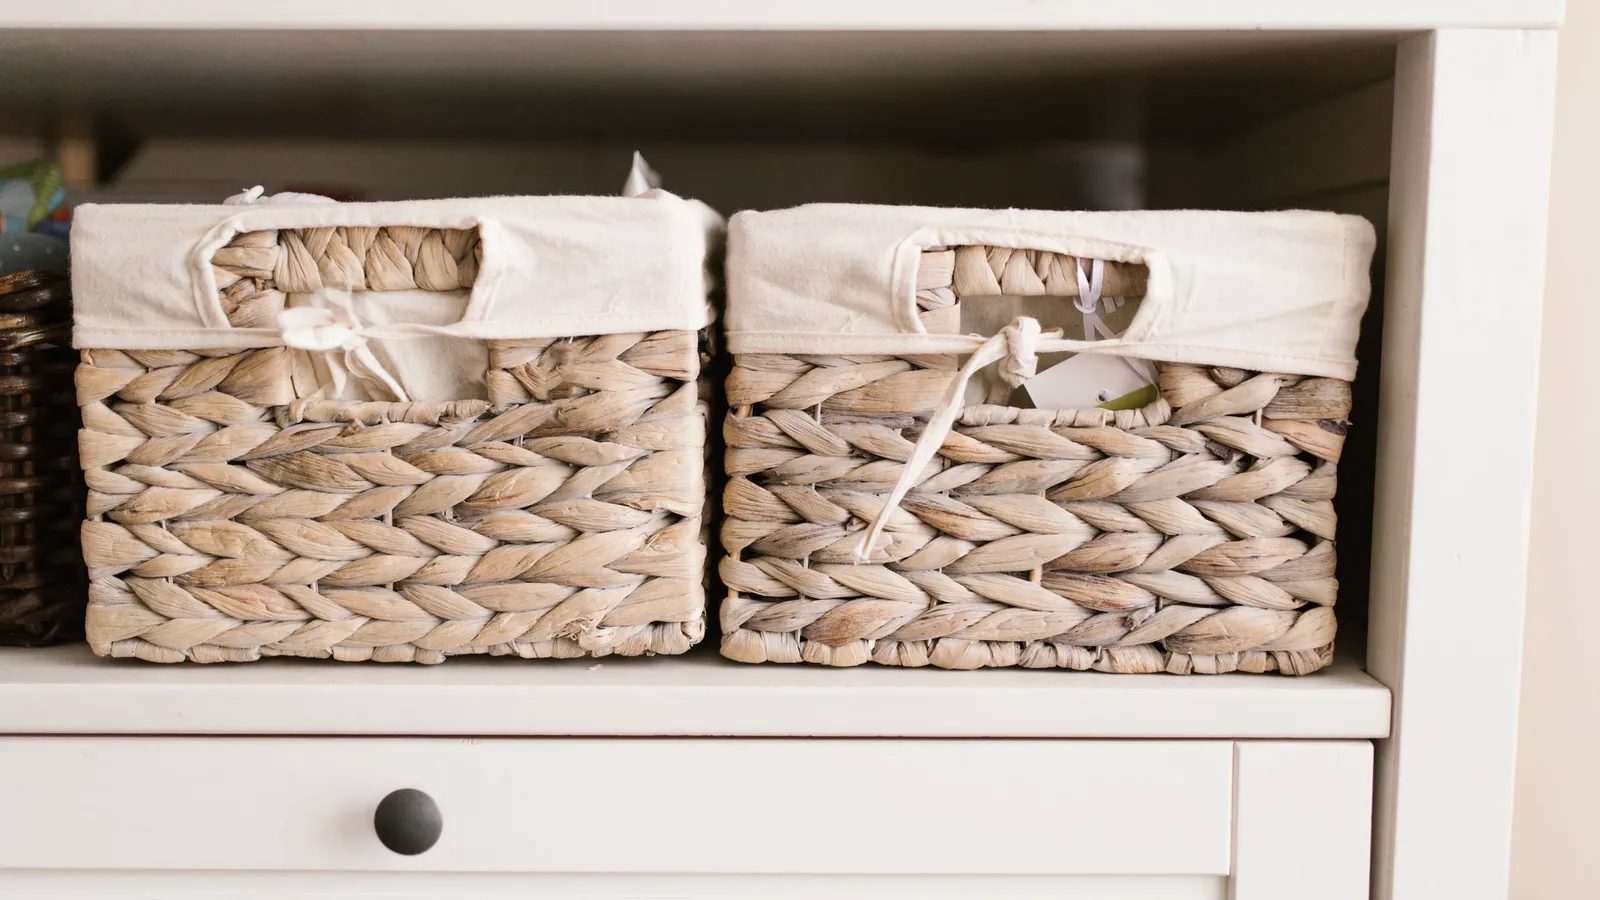
Put the items away and search for three of them using ordinary words. Search for “drill,” not just the exact title you copied from the packaging. Check that each result shows a usable location and the right photo. Improve names and notes wherever the search fails.
Keep a backup or export that you have actually opened. If your method links to separate image files, confirm that those links still work from the backup. Repeat the check after changing tools.
Keep the useful part current
You usually do not need a new photograph every time something moves. Update the location when you put it elsewhere, and replace the photo when the appearance, condition or grouped contents change. Remove entries for things you no longer have.
Choose your workflow after the trial: use our AI inventory comparison if recognition saved you work, or try iFoundIt for a manual record of what an item is and where you keep it.
Frequently asked questions
Can I make a home inventory from existing photos?
Yes, if you can identify the belongings and verify that you still own them. Add current locations and take new close-ups for details that the old photos do not show.
Can one room photo capture everything I own?
It cannot document objects hidden in drawers, behind furniture or inside closed containers. Use overview photos for context and additional images for the belongings you want to record separately.
Does iFoundIt automatically recognize items in photos?
No. iFoundIt uses photos with names and locations that you enter yourself. It does not provide automatic photo recognition or value estimates.